Having a very busy week. Thought I would revisit a fun project from a few months ago!
This is a fun, easy and FAST little project! I am a fabric hoarder and just can't bring myself to toss anything no matter how small. I started a box where I keep the little pieces so I can quickly sift through my collection for a project of this size. This idea came from the book Denyse Schmidt Quilts. Its another great example of finding something new to try and adding your own spin!
I started with a random sheet of paper, folded it in half and tore the outside edges - something about straight, perfect edges makes me crazy!
Next I grabbed some bright scraps from my stash and haphazardly laid them out to cover the front of the card.
Now the fun part! I love using my sewing machine to stitch on paper. I save old needles for this occasion because paper will dull a needle quickly and I want to get as much mileage out of my supplies as I can. Whenever I change my sewing machine needle I put the old one in a holder marked "used" so I always have some on hand for paper.
 |
| Keeping old needles for sewing paper is handy. |
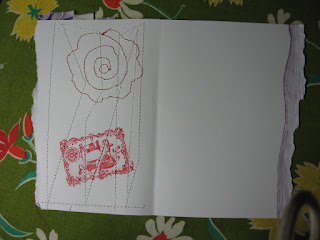
I chose white thread this time so it would blend with the inside of the card but any color is fine. I sewed from top to bottom and then zig-zagged by way back up and across the card, making sure all the fabric was secured. You want to make sure you don't sew over the fold.
I decided to decorate the front with a fabric flower and planned to use colored thread for doodling. Knowing the color would show up on the inside too I laid out the size of the flower and then placed the stamp to get a general idea if how they would fit.
I used a metallic purple colored pencil to shade in the outside edge and blend in better with the colors on the front of the card. Looking back I would do more doodles and decoration on the inside but this was a quick project done between 5 and 6 am while the family slept, before hitting the shower for work. Not a bad start! It was fun and gave me a little creative fix to carry through the hectic day ahead!
 |
| Red and purple are one of my favorite color combos! |


So, so cute!!!!!
ReplyDelete