Showing posts with label DIY. Show all posts

Friday, January 4, 2013

Stitched Paper Gift Bag

 Here's an easy, fun way to turn a plain paper bag into a personalized gift tote.

1. Stamp the entire bag.
2. Spritz the entire bag with glimmer mist to add additional color and sparkle.
3. While that is drying, trim a separate paper sack with decorative scissors; cut to size of front side of gift bag.
4. Stamp paper and spritz paper lightly with glimmer mist, let dry (this should only take a couple minutes).
5. Cut bright fabric scraps into circles for flowers.
6. Enable free motion stitching on sewing machine and attach flowers with varying stitch designs. Then add stems and leaves. I like bright thread and live by the motto "the messier the better."
7. If you want to free motion a word or message I suggest lightly writing it in pencil, then following along with stitching.
8. Have fun, get creative, try anything!
Pin It

Friday, November 2, 2012

Frilly Tote Bag


Here's an easy project I did a few months ago. I saw this on the cover of Haute Handbags Spring 2012 issue (www.hautehandbagsmagazine.com) and fell in LOVE! Sierra Hocklander, the featured designer, gave great directions and it was pretty easy. I plan to do some more in different colors (think holidays!) but I stuck with blue and white on this one so it could go in a raffle basket at my son's school. It turned out so cute it was hard to give it up, but at least its for a good cause!


Start with a plain canvas tote bag. Cut four fabric strips 4" wide. Add a zigzag stitch on each side of the strip and ruffle the strip. Then sew the strips onto the bag from the bottom up.

 
For the flower I used the leftover end of a ruffle strip and voila! I really, really wish I could take credit for this idea! All of Sierra Hocklander's pieces are gorgeous! You can check out her blog at www.thebluerobincottage.blogspot.com. She is a great inspiration.

All ready to go with my tag attached!
Pin It

Friday, October 5, 2012

Ugly Monster Doll - College Edition


If you saw the Ugly Monster Doll I made for my daughter a couple weeks ago you will notice this one is different. My son is a monster University of Oregon Ducks fan (pun intended!) and he asked for a Ducks theme for his little monster. This time I made my own pattern which was fun - I'm definitely going to start doing more of my own patterns!

I sketched the "O" after looking at one of his football posters and made my own applique.

The back side is my son's other love - John Deere - which just happens to sport the same colors and U of O! That makes it easy for mom!!
Pin It

Thursday, October 4, 2012

DIY Capri's - UPDATE

Some of you asked to get another look at the owl Capri's once the cuff had frayed. I'm happy with the results after just one wash/dry cycle and I imagine it will get even better over time.
Thanks so much for looking!!
Pin It

Friday, September 28, 2012

DIY Restyled Capri Jeans Tutorial


As promised, I restyled some "too short" jeans into a funky pair of Capri's with a little whimsy. Here's how I did it.

I took my current favorite pair of Capri's and placed them on top of the Goodwill jeans to get a similar length. I marked where the fold and the cuff should go, double checking to make sure both legs were even.


I used my quilt ruler and rotary cutter to get the length even on the legs when I cut off the bottom.


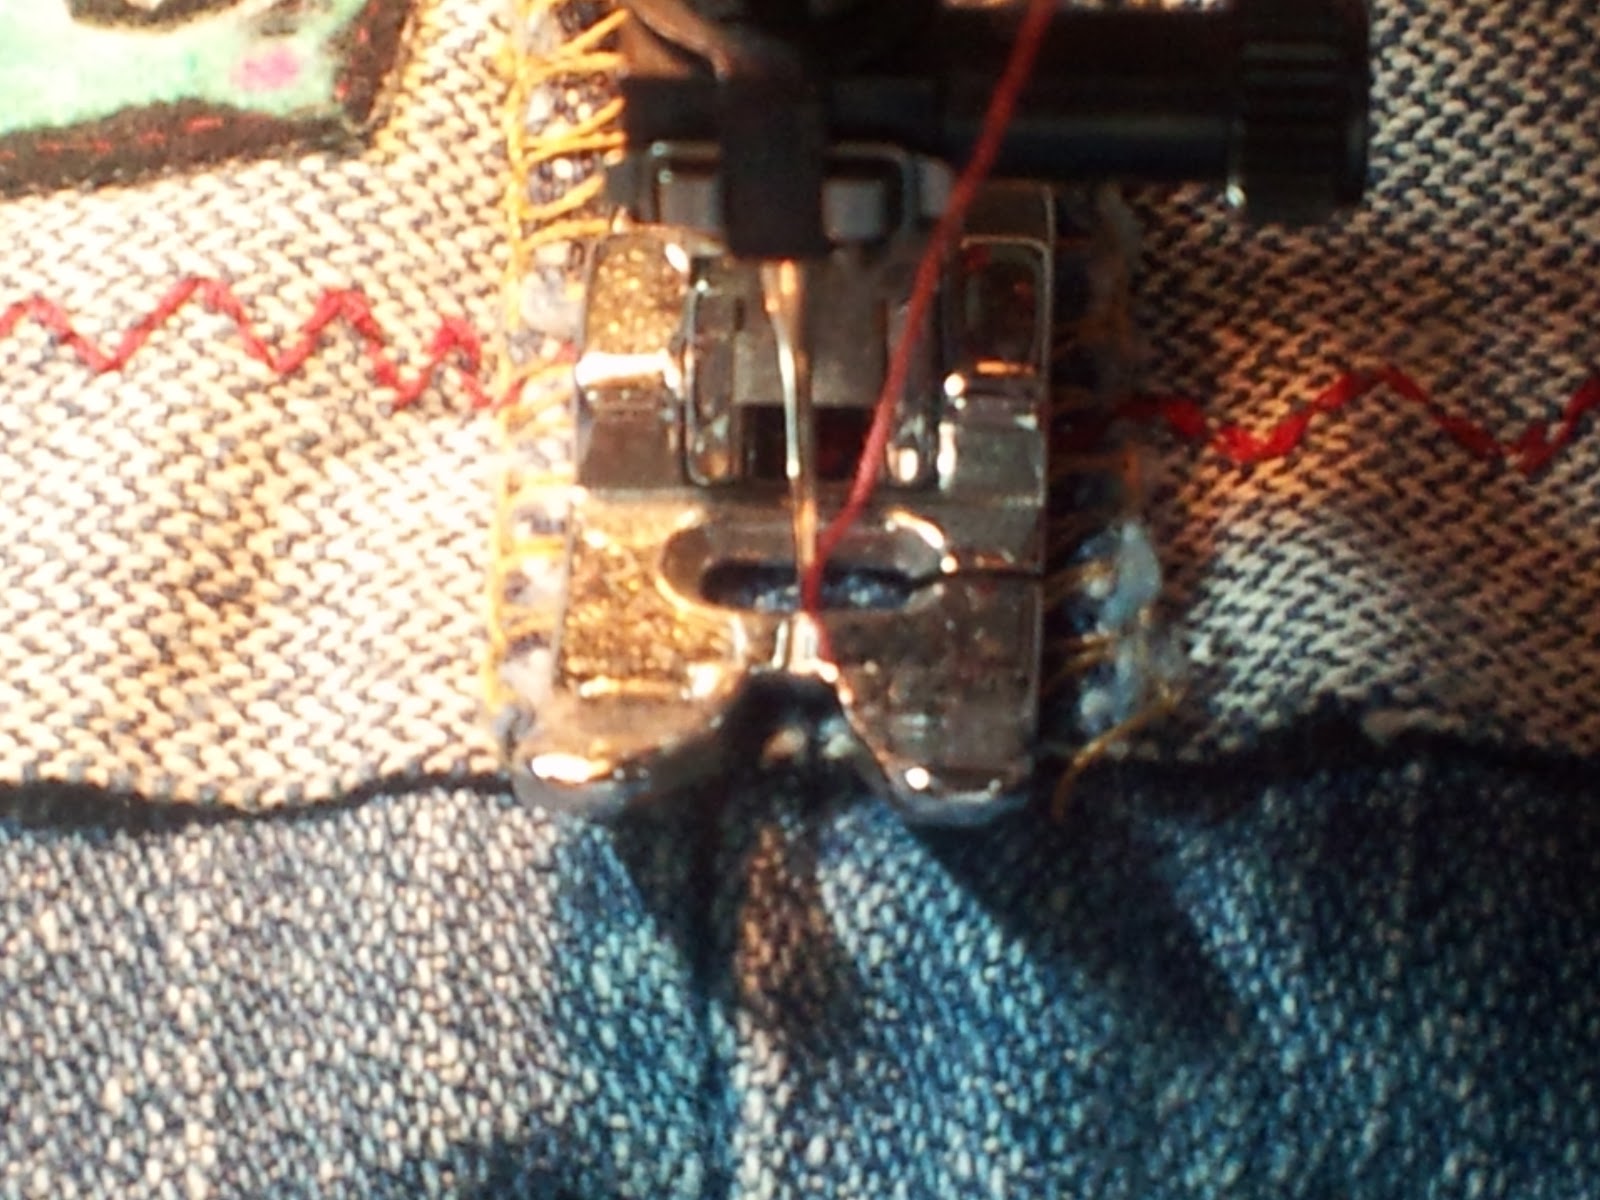
Before deciding which decorative stitch I wanted I tested some on a strip of cut off denim. I didn't want any surprises on the pants. Then I ran the stitch around each cuff, using a thick zigzag stitch. I am hoping the top will fray over time and the stitch will keep it from going too far.


After stitching I folded the cuff up and tacked the side seams to keep it in place.


Then, for fun, I fussy cut two flannel owls out of some leftover fabric in my stash. I stitched them to the outside edge of each cuff for a whimsical accent. An easy way to do this is using the needle down option on the sewing machine and just spinning the pants when you reach the corner.

Since the owls and the side seams were holding the cuff in place I decided to try some Iron-On Fusing Web I'd had sitting around to see what I thought about it.
I cut a strip and placed it on the inside of the cuffs, front and back and ironed according to the instructions. It seemed to hold well and I figured if it comes apart later I will just stitch the pants.
Since these are something I will keep for myself its a good time to check out a new-to-me product.


Finally, I pulled two buttons from my collection and placed them on each side seam next to the owl. I adhered them with E-6000 glue, another experiment, to see how it holds up on a project like this. I can't wait to wash these a few times and get that frayed look at the top of the cuff.

I hope you found this helpful and are
inspired to try your own restyle!

Pin It

Monday, September 17, 2012

Ugly Monster Doll


My daughter turned three last week and I noticed she's been interested in the "ugly" dolls in the store. After a very quick search on Pinterest I found a tutorial with a free pattern! I made this in about an hour the day of her party. So easy and fun and to my surprise the big kids at the party loved it as much as the little ones! A big thanks to RevoluzZza.com for sharing the monster with my little monster!!

Printed pattern layed out on a scrap of fabric to determine sizing.

Front and back ready to become a monster!
Pin It

Wednesday, September 12, 2012

Polka Dot Pin Cushion

I saw the sweetest tea cup pincushion while cruising the blogosphere. Katie, the crafty gal at Punk Projects (http://punkprojects.blogspot.com/) hosted a guest tutorial on this project and I was inspired to give it a try. I wanted a brighter, less formal look for mine and this is how it turned out!
Found this cute little bowl at a flea market and instead of using batting I decided to cover an old school tomato cushion that was in my junk drawer.
I sewed together two bright strips left over from a long ago quilt project, then wrapped it around the cushion and used a hair band to secure it on the bottom.
To hold it in place I used my ever-trusty E-6000 glue to adhere the fabric to the bowl. It was all worth it when I gave it to my awesome, seamstress aunt who loved it! A super quick, easy and fun little project with endless options! Have fun if you try one and let me know what you think!
Pin It

Thursday, August 30, 2012

Big Button Pillow Tutorial - Making Something Out of Nothing

Make a custom, big button pillow out of scraps!!
I wanted to make pillow for my aunt that coordinated with a quilt I'd done for her a few years ago. After I went into my scrap stash I realized I had plenty to work with! Who says hoarding is a bad thing!!!
I wanted to make use of an existing pillow form but as you can tell it was pretty flat and out of shape.
To remedy that I cut into the cover and plumped it up with batting.
Then I stitched it shut and added a couple drops of E-6000 glue to secure the end of the thread. A little goes a long way and I made sure to use just a dab so there wouldn't be a crunchy spot.

Next I ironed out my scraps, luckily some were large, and then I squared off the edges. I like a nice, crisp cut on certain projects. The pillow form was originally 20X20 but I decided to cut the cover at 18 3/4 inches so it would fit snugly over the form.
I eye-balled the measurement, lined up the sides and stitched them on my machine, using a 1/4 inch seam. Then I cut it to my 18 3/4 inch specifications. I repeated the process for side two.

When I came up a little short I added a strip to the bottom, remembering some of the best advice I've ever heard. "If its too short add some...if its too long, cut some off." Simple, and no stress!
I stitched the front and back together (right sides facing) on three sides and left the bottom open.
A quick press with the iron will set the seam nicely and trimming off the corners decreases bulk.


Next, flip it right side out and give a quick press to the side seams for a crisper edge. I pressed the corners to a sharper point with my seam tool, but a pencil or ruler would work just the same.

Once the pillow is stuffed in tightly (I had to work the funky form a little bit to get an even look) pin the open end closed. I rolled the edges under.

Thread a needle and use small stitches across the side, making sure to secure the thread tightly at beginning and end.
The only items I bought for this project were a doll making needle, two big buttons and coordinating embroidery floss.
Double thread the floss through the needle and loop it through the button, then tie it securely on the back side.
Press down on the pillow while pushing the needle to the other side to make the button sink in. Place the second button on the back side and make sure the needle comes through where it is centered. Keep pressing on the pillow as you run the needle back and forth a couple times. Once it is tight you can let up on the pressure and do a few more loops until you feel its secure. Make sure there is enough thread remaining to cut it from the needle and tie it under the button on the side you end.
Front and back, depending on preference!

Pin It
Related Posts Plugin for WordPress, Blogger...