As promised, I restyled some "too short" jeans into a funky pair of Capri's with a little whimsy. Here's how I did it.
I took my current favorite pair of Capri's and placed them on top of the Goodwill jeans to get a similar length. I marked where the fold and the cuff should go, double checking to make sure both legs were even.
I used my quilt ruler and rotary cutter to get the length even on the legs when I cut off the bottom.
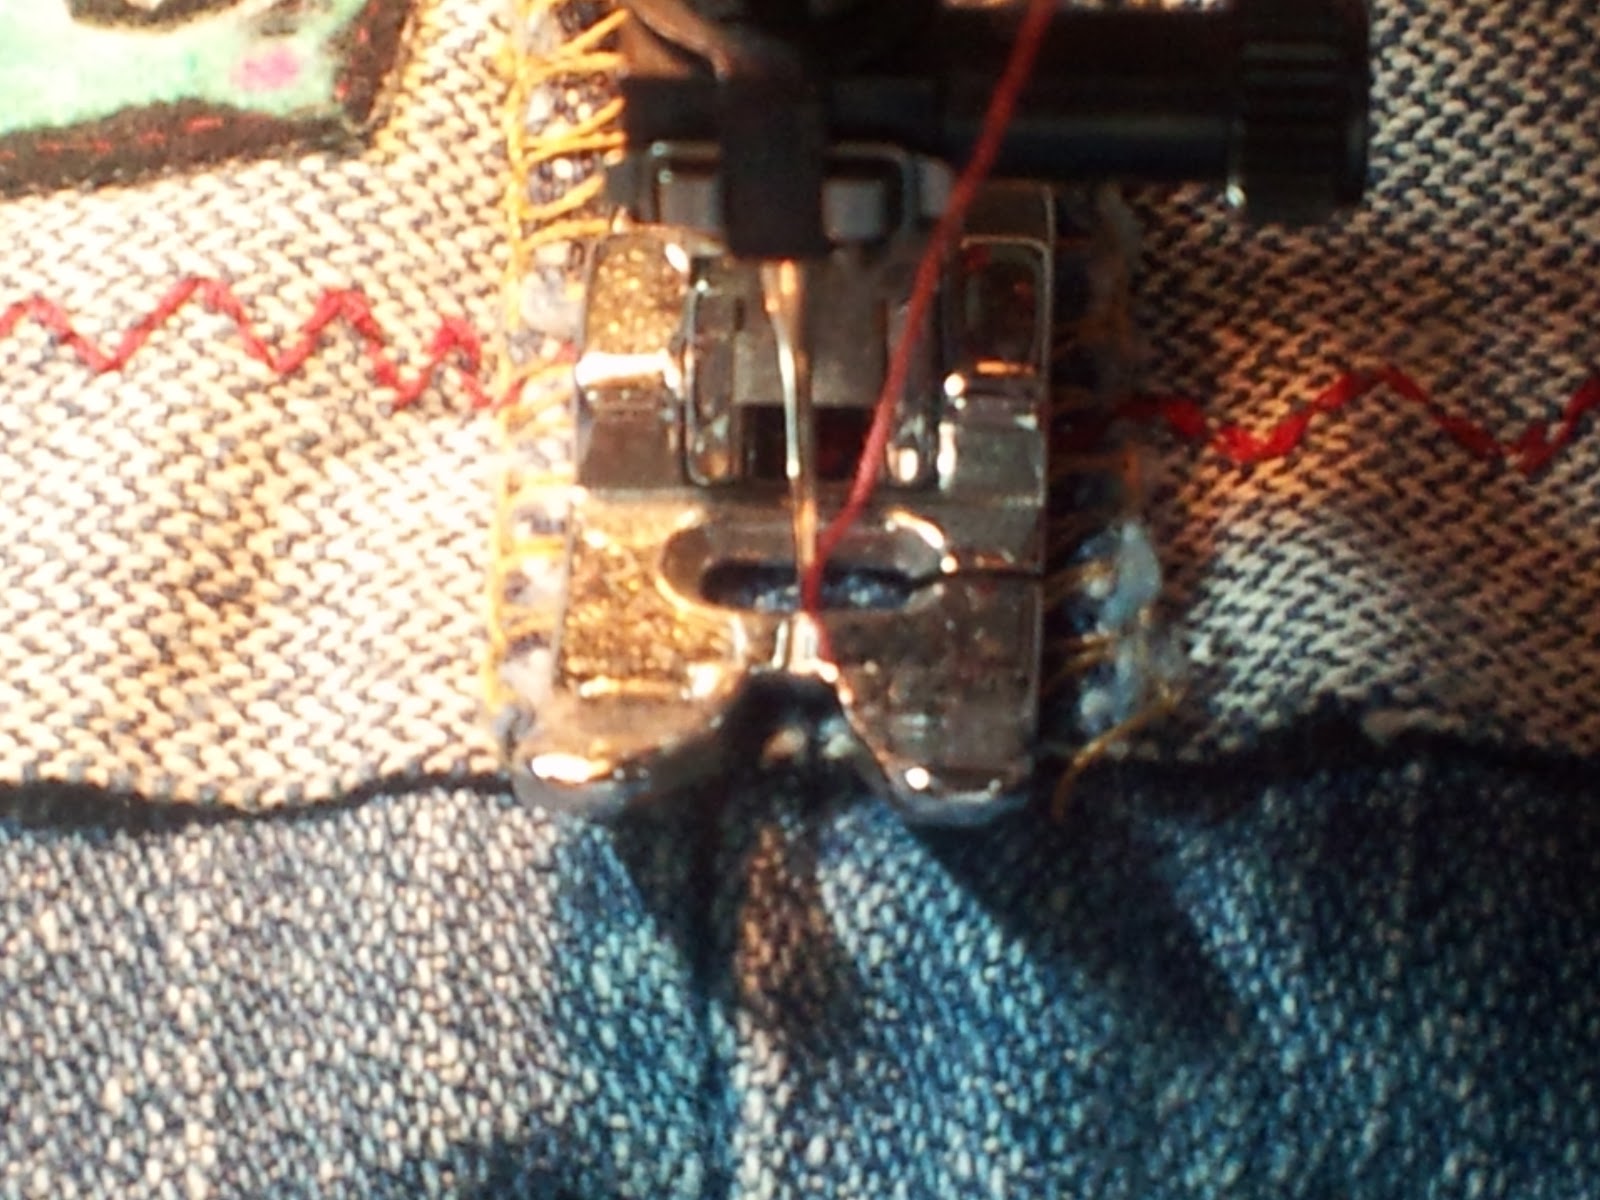
Before deciding which decorative stitch I wanted I tested some on a strip of cut off denim. I didn't want any surprises on the pants. Then I ran the stitch around each cuff, using a thick zigzag stitch. I am hoping the top will fray over time and the stitch will keep it from going too far.
After stitching I folded the cuff up and tacked the side seams to keep it in place.
Then, for fun, I fussy cut two flannel owls out of some leftover fabric in my stash. I stitched them to the outside edge of each cuff for a whimsical accent. An easy way to do this is using the needle down option on the sewing machine and just spinning the pants when you reach the corner.
Since the owls and the side seams were holding the cuff in place I decided to try some Iron-On Fusing Web I'd had sitting around to see what I thought about it.
I cut a strip and placed it on the inside of the cuffs, front and back and ironed according to the instructions. It seemed to hold well and I figured if it comes apart later I will just stitch the pants.
Since these are something I will keep for myself its a good time to check out a new-to-me product.
Finally, I pulled two buttons from my collection and placed them on each side seam next to the owl. I adhered them with E-6000 glue, another experiment, to see how it holds up on a project like this. I can't wait to wash these a few times and get that frayed look at the top of the cuff.
I hope you found this helpful and are
inspired to try your own restyle!
Pin It