Showing posts with label restyled. Show all posts

Wednesday, February 20, 2013

Leather Purse Restyle

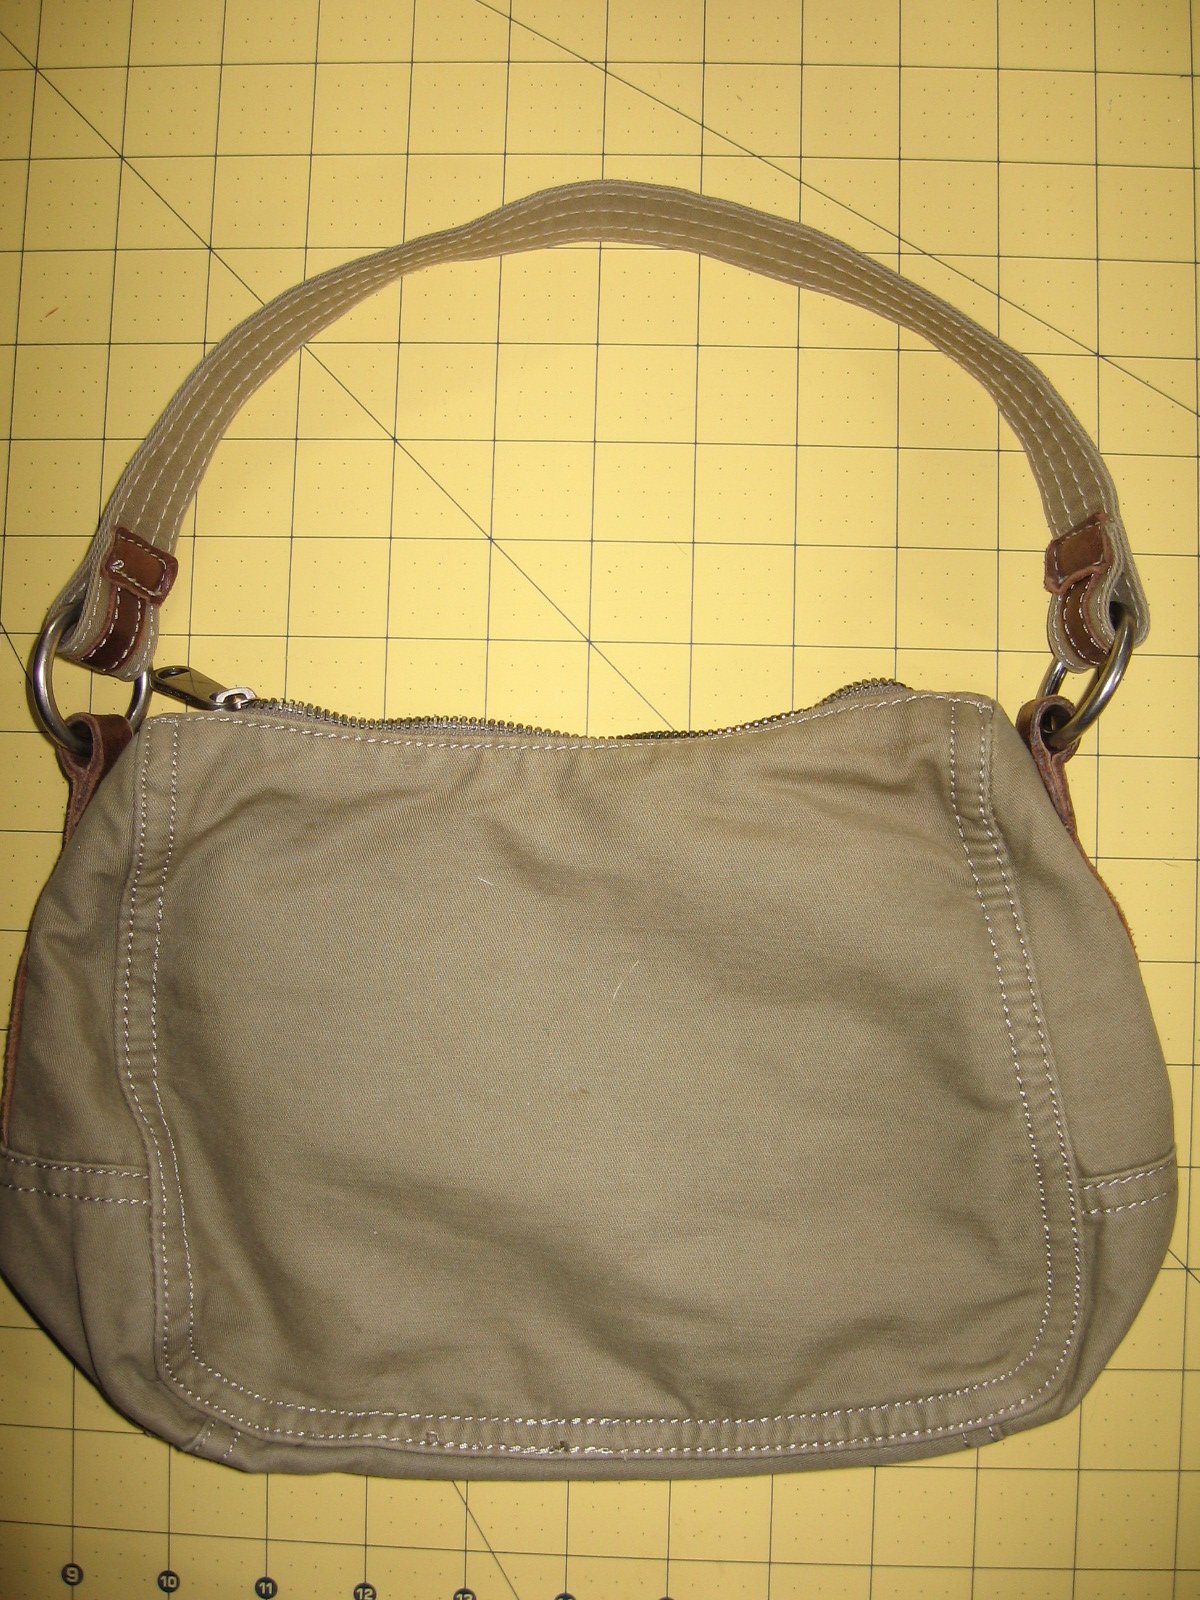
 This is the first time I have attempted a restyle on anything besides fabric. It was so fun!! I used the mantra "If I don't like it, its not done yet..." and that really worked for me. This sedate little bag got the full Gypsy treatment. I can't wait to get my hands on more of these little gems!!

 A vintage wallpaper flower.

Collage-style front pocket.

Available for purchase under Gifts With Heart on Etsy!
Pin It

Monday, February 18, 2013

Monday Morning Musings

 Happy Monday! I got up early today (about 4:45) to get in some creative time before the day began. I just cleaned the studio this weekend and it feels fresh and wonderful again. It was the perfect place to have my tea and look for some inspiration in past issues of Apronology magazine. I think I may use this type of flower on an upcoming sweatshirt restyle for my mom.

 I've been dabbling in zentangle lately. It is really fun and I can't wait to incorporate it into my sewing. On the right is a purse restyle that will go on Etsy - it is in the middle of the process and will be shared later in the week!
Here is some ink and fabric paint stamped on another bag that will also become one of my Gifts With Heart. I'm not sure yet how it will come together but I thought I would give you a little sneak peak into my early Monday musings. Hope its a great week!!
Pin It

Friday, November 30, 2012

Upcycled Butterfly Bag

This bag caught my eye because of the color and texture but it was a tad plain. I dug into my wool stash and fussy cut a simple butterfly shape then added some bling for the body. Voila! An easy, cute project that got a lot of notice at the craft bazaar recently. 

Pin It

Monday, November 26, 2012

Birdy Messenger Bag - Restyled

I love canvas bags. This was a plain one waiting for something special. A beautiful tree stamp and two birds cut from a wool skirt. A small one on the front and his larger cousin adorns the back...both with pearl eyes. This is one of my favorite restyles so far!
Pin It

Thursday, October 4, 2012

DIY Capri's - UPDATE

Some of you asked to get another look at the owl Capri's once the cuff had frayed. I'm happy with the results after just one wash/dry cycle and I imagine it will get even better over time.
Thanks so much for looking!!
Pin It

Friday, September 28, 2012

DIY Restyled Capri Jeans Tutorial


As promised, I restyled some "too short" jeans into a funky pair of Capri's with a little whimsy. Here's how I did it.

I took my current favorite pair of Capri's and placed them on top of the Goodwill jeans to get a similar length. I marked where the fold and the cuff should go, double checking to make sure both legs were even.


I used my quilt ruler and rotary cutter to get the length even on the legs when I cut off the bottom.


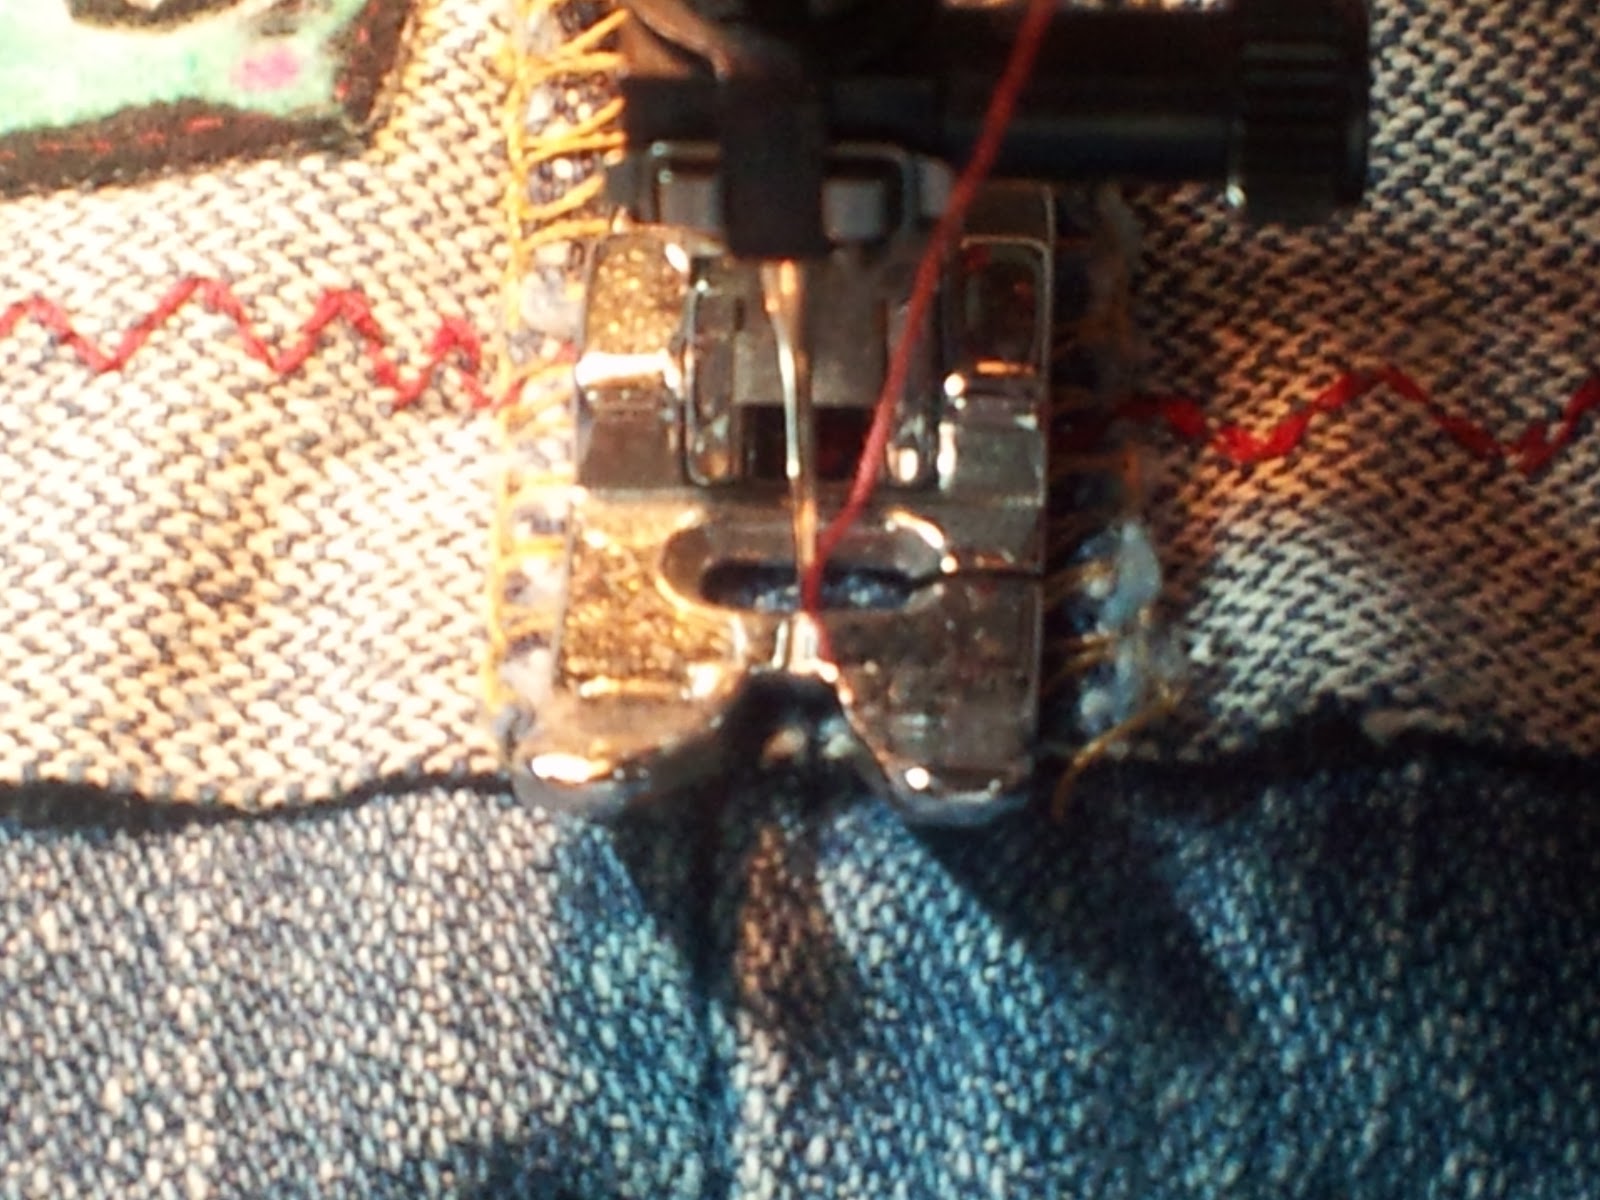
Before deciding which decorative stitch I wanted I tested some on a strip of cut off denim. I didn't want any surprises on the pants. Then I ran the stitch around each cuff, using a thick zigzag stitch. I am hoping the top will fray over time and the stitch will keep it from going too far.


After stitching I folded the cuff up and tacked the side seams to keep it in place.


Then, for fun, I fussy cut two flannel owls out of some leftover fabric in my stash. I stitched them to the outside edge of each cuff for a whimsical accent. An easy way to do this is using the needle down option on the sewing machine and just spinning the pants when you reach the corner.

Since the owls and the side seams were holding the cuff in place I decided to try some Iron-On Fusing Web I'd had sitting around to see what I thought about it.
I cut a strip and placed it on the inside of the cuffs, front and back and ironed according to the instructions. It seemed to hold well and I figured if it comes apart later I will just stitch the pants.
Since these are something I will keep for myself its a good time to check out a new-to-me product.


Finally, I pulled two buttons from my collection and placed them on each side seam next to the owl. I adhered them with E-6000 glue, another experiment, to see how it holds up on a project like this. I can't wait to wash these a few times and get that frayed look at the top of the cuff.

I hope you found this helpful and are
inspired to try your own restyle!

Pin It

Wednesday, September 26, 2012

PUBLISHED!!! (exciting stuff)


My first time in a beautiful publication!


I am so excited and grateful to announce that my restyled purse "Vintage Station" is included in the October issue of Haute Handbags magazine! There are many, many beautiful bags and purses of all types in this publication and to be among them means a lot to me. I hope you have a chance to check it out and enjoy all of the incredibly talented artists who are included.


This is the back side of the purse, not pictured in the magazine.
Pin It

Funky Messenger Bag

Nothing like a little "Before and After!" I had a lot of fun and was excited to see how this bag turned out. My "plans" went out the window and serendipity kicked in - I love it when that happens!


Pin It

Thursday, September 20, 2012

Scarf Weather!!

Scarf weather is approaching and I finally got the courage to put a few of my handmades on Etsy! These scarves were the inspiration that started my obsession with restyling something new from something old. Color and texture never get old! 

Pin It
Related Posts Plugin for WordPress, Blogger...