Showing posts with label repurposed clothes. Show all posts

Thursday, February 14, 2013

GIFTS WITH HEART!

Happy Valentine's Day!
Today is the official launch of my newest project: Gifts With Heart! There could not be a better day to start this adventure. Two months ago, December 14th 2012, the tragedy at Sandy Hook Elementary School in Newtown, Connecticut rocked that community, our country and the world. There is no making sense of such an unthinkable day. For me, as the numbness and shock slowly wore away I was left with an overwhelming sadness. But as sad as I was, I still had my own children and so very much to be grateful for.

Slowly, even in the worst of times, life continues. Kids go back to school, errands need done, bills need paid...and so it goes. I have not been able to stop thinking about the parents, families and friends who live in Newtown and how hard it would be to continue - to be forced to find a "new normal." The need for support, counseling, time and love is huge. No one, let alone an entire community, just moves on without obstacles. I wondered what could I do?? I am one person; just a mom who lives on the opposite side of the country with no direct link to Connecticut. But a recurring thought kept coming back to me - "We can't do it all, but what if we all did a little?"

With that thought in mind I decided to take a baby step in the right direction. Do what I can now, within my abilities and hopefully it will be one more drop to help fill up someone else's cup. And so Gifts With Heart was born! Available on Etsy, all proceeds from Gifts With Heart will go to causes close to my own heart, beginning with the United Way of Western Connecticut, Sandy Hook Fund. There is no end date...just when it feels right.

I hope you will visit Etsy and I invite you to check back as there will be new items going up regularly as well as featured artists who are pitching in the help make a difference. I am excited about this...and a bit nervous. It won't produce millions but I believe whole heartedly that no matter what, it all adds up! Lets remember those 26 beautiful souls as we reach out to those they left behind by giving Gifts With Heart.

Pin It

Monday, January 7, 2013

Tried Something New - Needle Felting


So this past weekend I finally got up the nerve to pull out my brand new needle felting tool. I've seen so many beautiful projects out there I was a little intimidated, then I decided to just play. I grabbed a plain tote bag and some wool suiting from my stash of repurposed fabric and got down to business.

I cut some flower shapes from stencils and just messed around with felting them onto the bag. No pressure of a finished project - just some play time. I am so thrilled to have the felting tools and I like the way it works. Now that I've broken the ice I can't wait to try this on an actual project!! If there's something you've been pondering I say just go for it - I wish I'd tried it sooner.

Pin It

Friday, November 30, 2012

Upcycled Butterfly Bag

This bag caught my eye because of the color and texture but it was a tad plain. I dug into my wool stash and fussy cut a simple butterfly shape then added some bling for the body. Voila! An easy, cute project that got a lot of notice at the craft bazaar recently. 

Pin It

Monday, November 12, 2012

Repurposed Pillow Covers

My first "commissioned project!" Okay, okay, it was for a friend of my mom's - but hey, I'll take whatever props I can get! My mom had given her friend one of my scarves as a birthday gift and when she heard I was making a foray into pillows she was the first to make an order. So, like many other times in my life, I say "THANKS MOM!"
I used pants, skirts, skirt lining and a jacket to pull together the "old world, patchwork" concept she was after. I also wasted a LOT of time stressing about making something perfect for someone else's home. In the end she liked her pillows and I had a very good night's sleep!
What I love most about these pillows is that they all go together, but are all slightly different. This project was a great inspiration for future ideas!

I found six toile du jouy patches while up to my armpits at the Goodwill bin store. I think they had been curtain tabs in a previous life. After a good washing they were her favorite part of the pillows. I didn't realize what a popular print it is until I started seeing it everywhere. Now I need to find some more - I miss them!
Pin It

Thursday, October 4, 2012

DIY Capri's - UPDATE

Some of you asked to get another look at the owl Capri's once the cuff had frayed. I'm happy with the results after just one wash/dry cycle and I imagine it will get even better over time.
Thanks so much for looking!!
Pin It

Friday, September 28, 2012

DIY Restyled Capri Jeans Tutorial


As promised, I restyled some "too short" jeans into a funky pair of Capri's with a little whimsy. Here's how I did it.

I took my current favorite pair of Capri's and placed them on top of the Goodwill jeans to get a similar length. I marked where the fold and the cuff should go, double checking to make sure both legs were even.


I used my quilt ruler and rotary cutter to get the length even on the legs when I cut off the bottom.


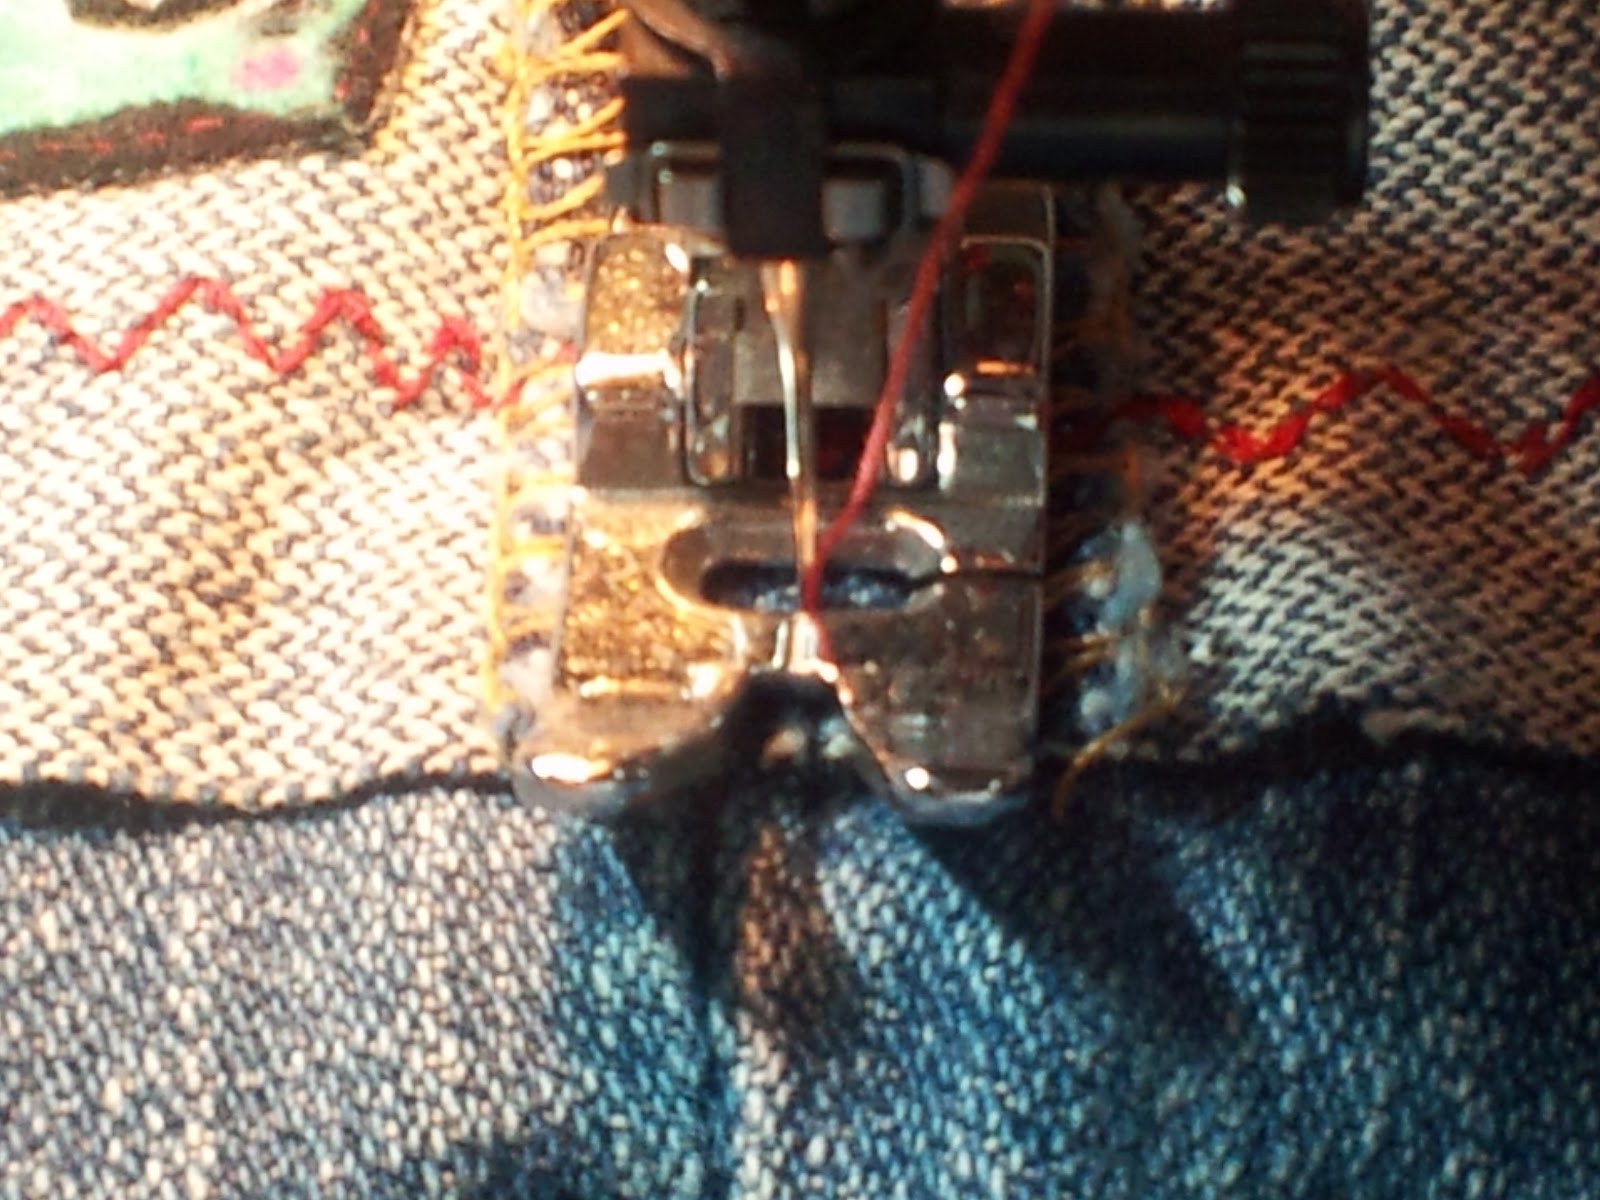
Before deciding which decorative stitch I wanted I tested some on a strip of cut off denim. I didn't want any surprises on the pants. Then I ran the stitch around each cuff, using a thick zigzag stitch. I am hoping the top will fray over time and the stitch will keep it from going too far.


After stitching I folded the cuff up and tacked the side seams to keep it in place.


Then, for fun, I fussy cut two flannel owls out of some leftover fabric in my stash. I stitched them to the outside edge of each cuff for a whimsical accent. An easy way to do this is using the needle down option on the sewing machine and just spinning the pants when you reach the corner.

Since the owls and the side seams were holding the cuff in place I decided to try some Iron-On Fusing Web I'd had sitting around to see what I thought about it.
I cut a strip and placed it on the inside of the cuffs, front and back and ironed according to the instructions. It seemed to hold well and I figured if it comes apart later I will just stitch the pants.
Since these are something I will keep for myself its a good time to check out a new-to-me product.


Finally, I pulled two buttons from my collection and placed them on each side seam next to the owl. I adhered them with E-6000 glue, another experiment, to see how it holds up on a project like this. I can't wait to wash these a few times and get that frayed look at the top of the cuff.

I hope you found this helpful and are
inspired to try your own restyle!

Pin It
Related Posts Plugin for WordPress, Blogger...