So this is my last Ugly Monster Doll for a while but I just had to share this little guy. He was inspired by the skater, flannel look. Hope you like him!
Pin It
Tuesday, October 30, 2012
Friday, October 26, 2012
Ugly Monster Doll - With BLING!
Who says an Ugly Monster Doll can't be stylish! This lady is rockin' pink teeth, a lavender lace belt and gems!
She was a gift for a super-stylin' girl I know!
Pin It
Wednesday, October 24, 2012
Monday, October 22, 2012
Peace Man!
So, one of my favorite people in all the world is really into peace signs. Always has been and I hope she always will be. I got the inspiration for this project from all of the embroidery hoop art I've seen on Pinterest and in the Stampington magazines. It was my first time spraying paint through lace but I'm for sure going to use the technique again.
And, of course, no project is complete without sewing machine doodles!
Pin It
Thursday, October 18, 2012
Being Brave
Hello! My normal posts are about my crafts, but today I am part of a Blog Circle - a circle of amazing women bloggers who are doing incredible things with their talents. I hope you will take few minutes to follow the links through this circle.
We will be doing this once a month and today's circle theme is "Being Brave." As I write this post I am in Germany for the first time in my life. I had the incredible opportunity to travel and see some of Europe with my 9-year-old son and this trip has been simply amazing. I have thought a lot about being brave and what I would write about in this post. For a long time I thought it would be about how much courage it took for me to get on a plane with my son, leaving my husband and small daughter 5000 miles behind me, and about teaching my son there is a whole world out there to explore.
All of that is true, but while here we had the once-in-a-lifetime opportunity to see the Anne Frank House Museum in Amsterdam. The power and raw emotion of this experience was life changing. When I thought about "being brave" before the museum my whole thought process was different than after.
The power of the human spirit, the will to survive and thrive and the adversity and injustice these people faced was incredible. And this was just one small group of people. One young girl with ideas and dream and imperfections - not so different from my own children.
I still don't know what it takes to "be brave" but I know that I am now a different person. Someone who has walked through the same rooms as Anne Frank, someone who saw her actual diary filled with a young girl's thoughts. I am someone who owes it to her and to my children and to the world to do my best and to strive to be brave every day. It would be a tragedy if I didn't. Do yourself a favor today and BE BRAVE.
My blog circle link:Juniper Goods
Pin It
Tuesday, October 9, 2012
European Getaway
I am one lucky lady! Today I am off with my son to see some long missed family in Europe! Bare with me as posting may be a little sporadic for the next ten days. I do have some great projects up my sleeve...can't spoil the fun of gift giving though! Ooooh lala!
Friday, October 5, 2012
Ugly Monster Doll - College Edition
If you saw the Ugly Monster Doll I made for my daughter a couple weeks ago you will notice this one is different. My son is a monster University of Oregon Ducks fan (pun intended!) and he asked for a Ducks theme for his little monster. This time I made my own pattern which was fun - I'm definitely going to start doing more of my own patterns!
I sketched the "O" after looking at one of his football posters and made my own applique.
The back side is my son's other love - John Deere - which just happens to sport the same colors and U of O! That makes it easy for mom!!
Pin It
Labels:
creativity,
DIY,
embellishment,
fabric scrap gift idea,
funky,
gift idea,
monster pattern,
pattern design,
recycled clothes,
repurposed,
scrap project,
sewing,
ugly monster doll
Thursday, October 4, 2012
DIY Capri's - UPDATE
Some of you asked to get another look at the owl Capri's once the cuff had frayed. I'm happy with the results after just one wash/dry cycle and I imagine it will get even better over time.
Thanks so much for looking!!
Labels:
Altered Style,
denim capri pants,
denim scraps,
DIY,
DIY capri jeans,
embellishment,
Goodwill,
jean capris,
pinterest,
recycled clothes,
repurposed clothes,
restyled,
sewing,
Thrify finds,
tutorial,
upcycled
Monday, October 1, 2012
Today's Gratitude
I usually post an inspirational/meaningful quote for Today's Gratitude. But today I just want to enjoy the moment. Soak it in. Experience this beautiful fall weather and be thankful. These are some of the amazing views I am graced with on my way home each day. I just love it. I hope you all are having a wonderful day too.
Pin It
Friday, September 28, 2012
DIY Restyled Capri Jeans Tutorial
As promised, I restyled some "too short" jeans into a funky pair of Capri's with a little whimsy. Here's how I did it.
I took my current favorite pair of Capri's and placed them on top of the Goodwill jeans to get a similar length. I marked where the fold and the cuff should go, double checking to make sure both legs were even.
I used my quilt ruler and rotary cutter to get the length even on the legs when I cut off the bottom.
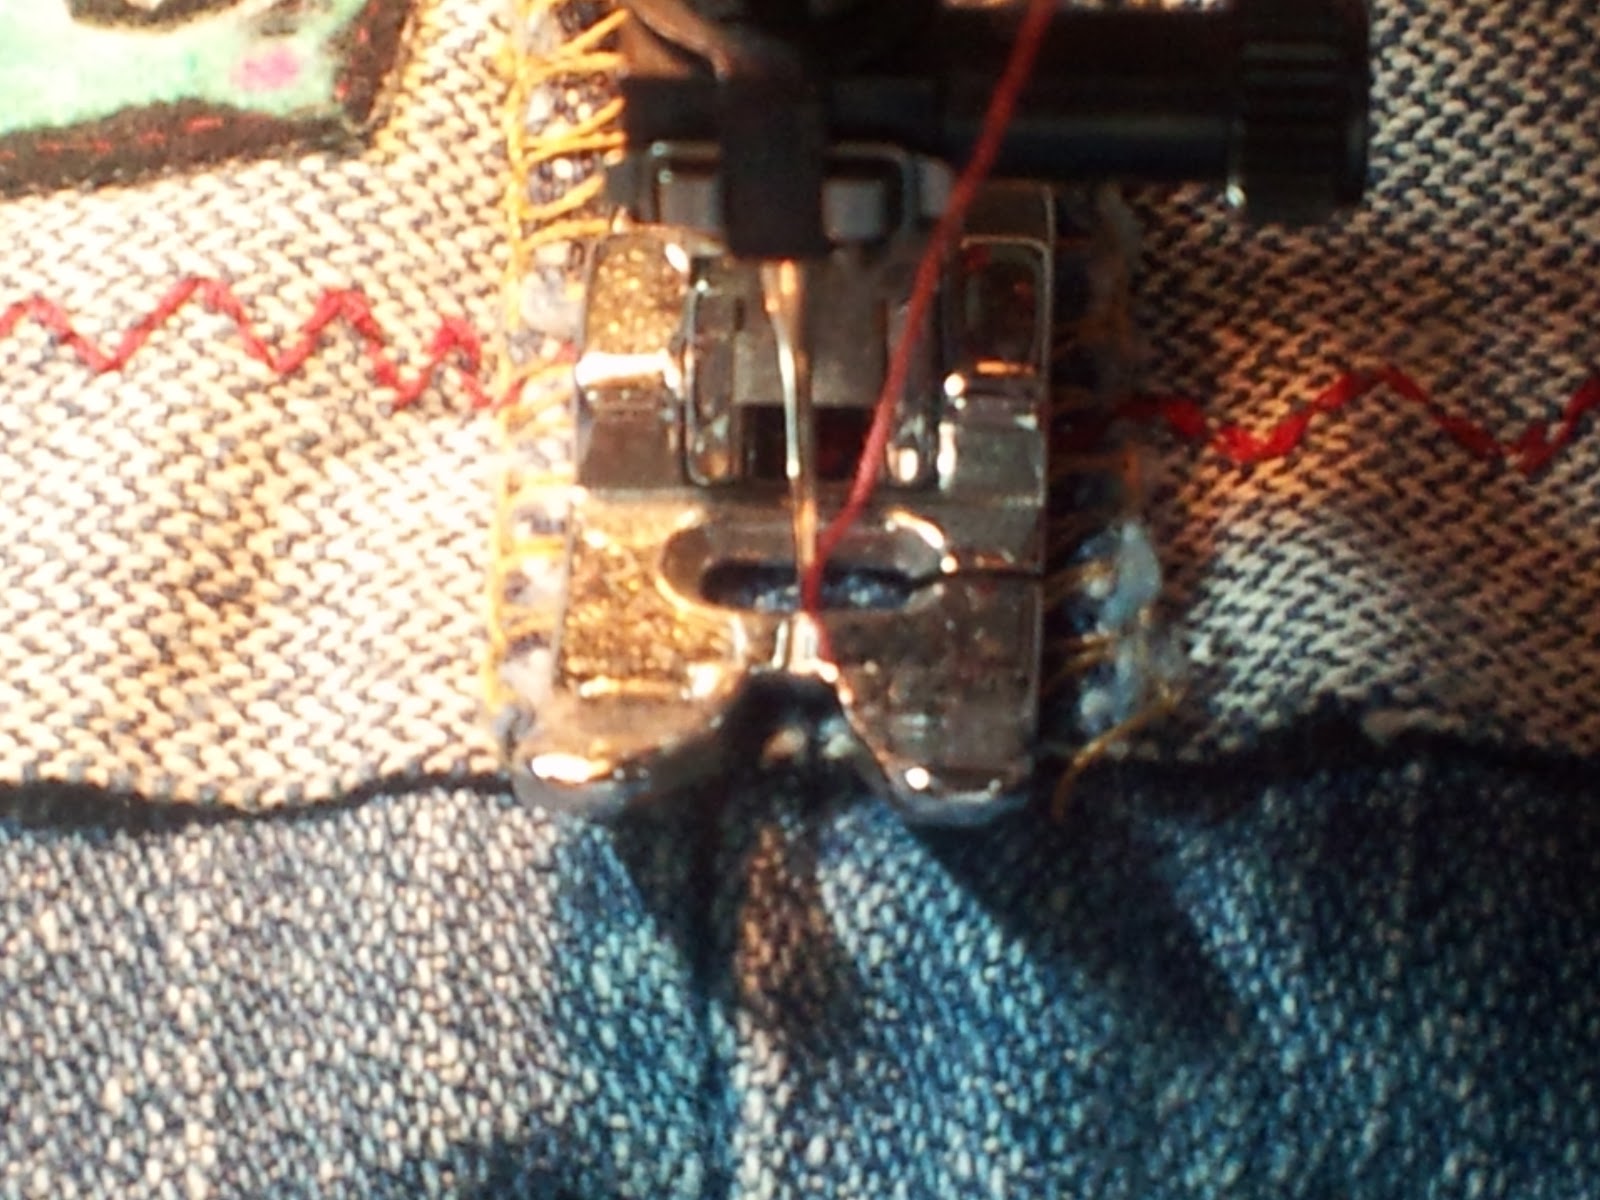
Before deciding which decorative stitch I wanted I tested some on a strip of cut off denim. I didn't want any surprises on the pants. Then I ran the stitch around each cuff, using a thick zigzag stitch. I am hoping the top will fray over time and the stitch will keep it from going too far.
After stitching I folded the cuff up and tacked the side seams to keep it in place.
Then, for fun, I fussy cut two flannel owls out of some leftover fabric in my stash. I stitched them to the outside edge of each cuff for a whimsical accent. An easy way to do this is using the needle down option on the sewing machine and just spinning the pants when you reach the corner.
Since the owls and the side seams were holding the cuff in place I decided to try some Iron-On Fusing Web I'd had sitting around to see what I thought about it.
I cut a strip and placed it on the inside of the cuffs, front and back and ironed according to the instructions. It seemed to hold well and I figured if it comes apart later I will just stitch the pants.
Since these are something I will keep for myself its a good time to check out a new-to-me product.
Finally, I pulled two buttons from my collection and placed them on each side seam next to the owl. I adhered them with E-6000 glue, another experiment, to see how it holds up on a project like this. I can't wait to wash these a few times and get that frayed look at the top of the cuff.
I hope you found this helpful and are
inspired to try your own restyle!
Pin It
Subscribe to:
Posts (Atom)